Knowledge Base
How to create a workflow in SharePoint
- To create a cloudplan workflow from SharePoint you need the free “Cloudplan Workflows for SharePoint” add-in from the Microsoft Appsource Store.
2. Follow the instructions in SharePoint and install the add-in
Creation of a workflow from SharePoint
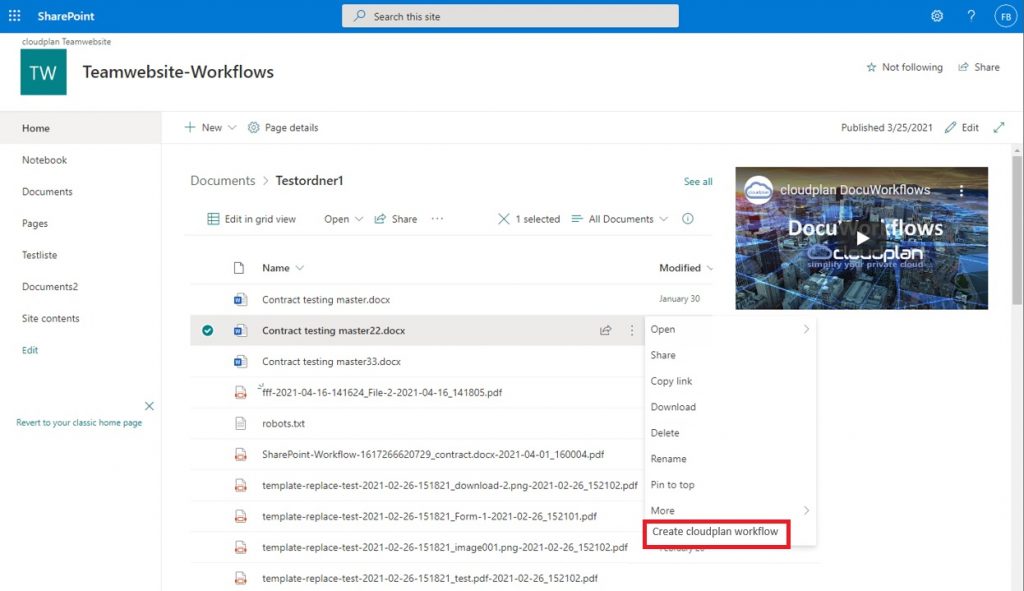
- Open the context menu for a file in SharePoint and select “Create cloudplan workflow”.
.
2. Check the selection and click “Proceed”.
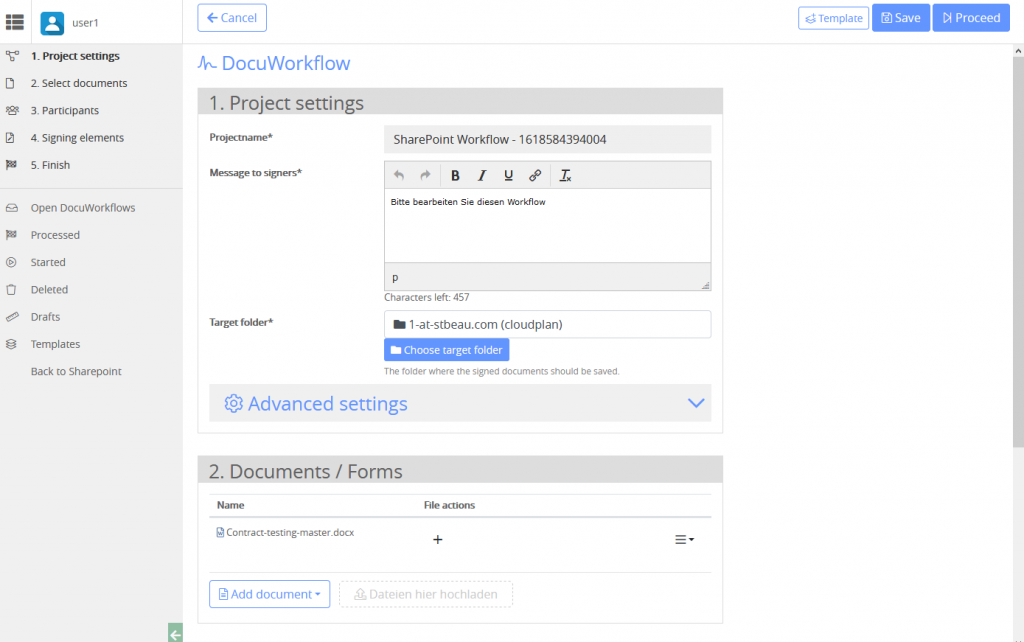
3. The workflow editor opens. Please fill in the following content:
- Workflow name
- Message to the recipients
- Destination folder for saving the finished workflow
- If necessary, add further documents. You can also reload files directly from Sharepoint using the file selector
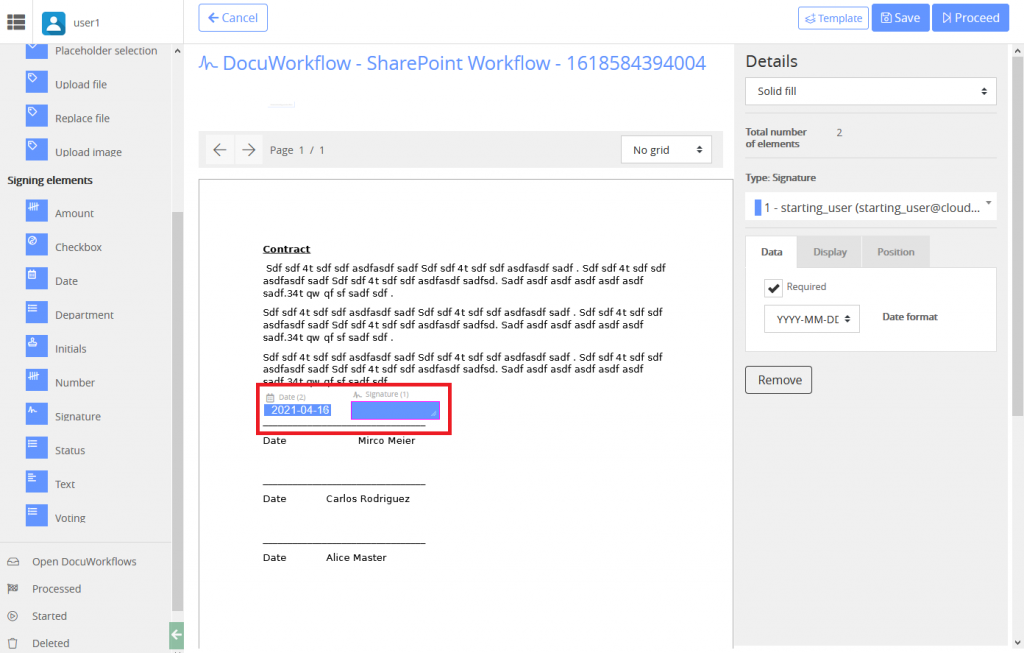
- Select the participants in the workflow
4. Add the fields to be edited to the workflow using “drag & drop”
5. Start the workflow
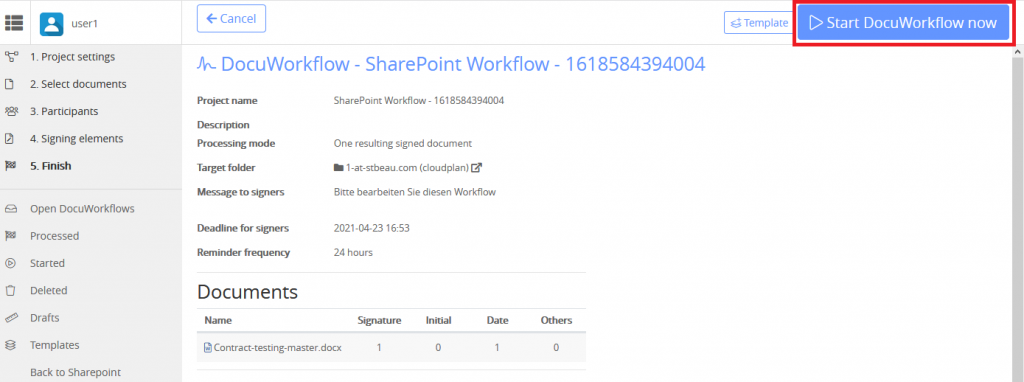
6. You can get an overview of all workflows in the Cockpit
